-
Product Description
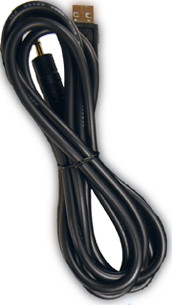
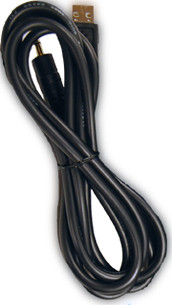
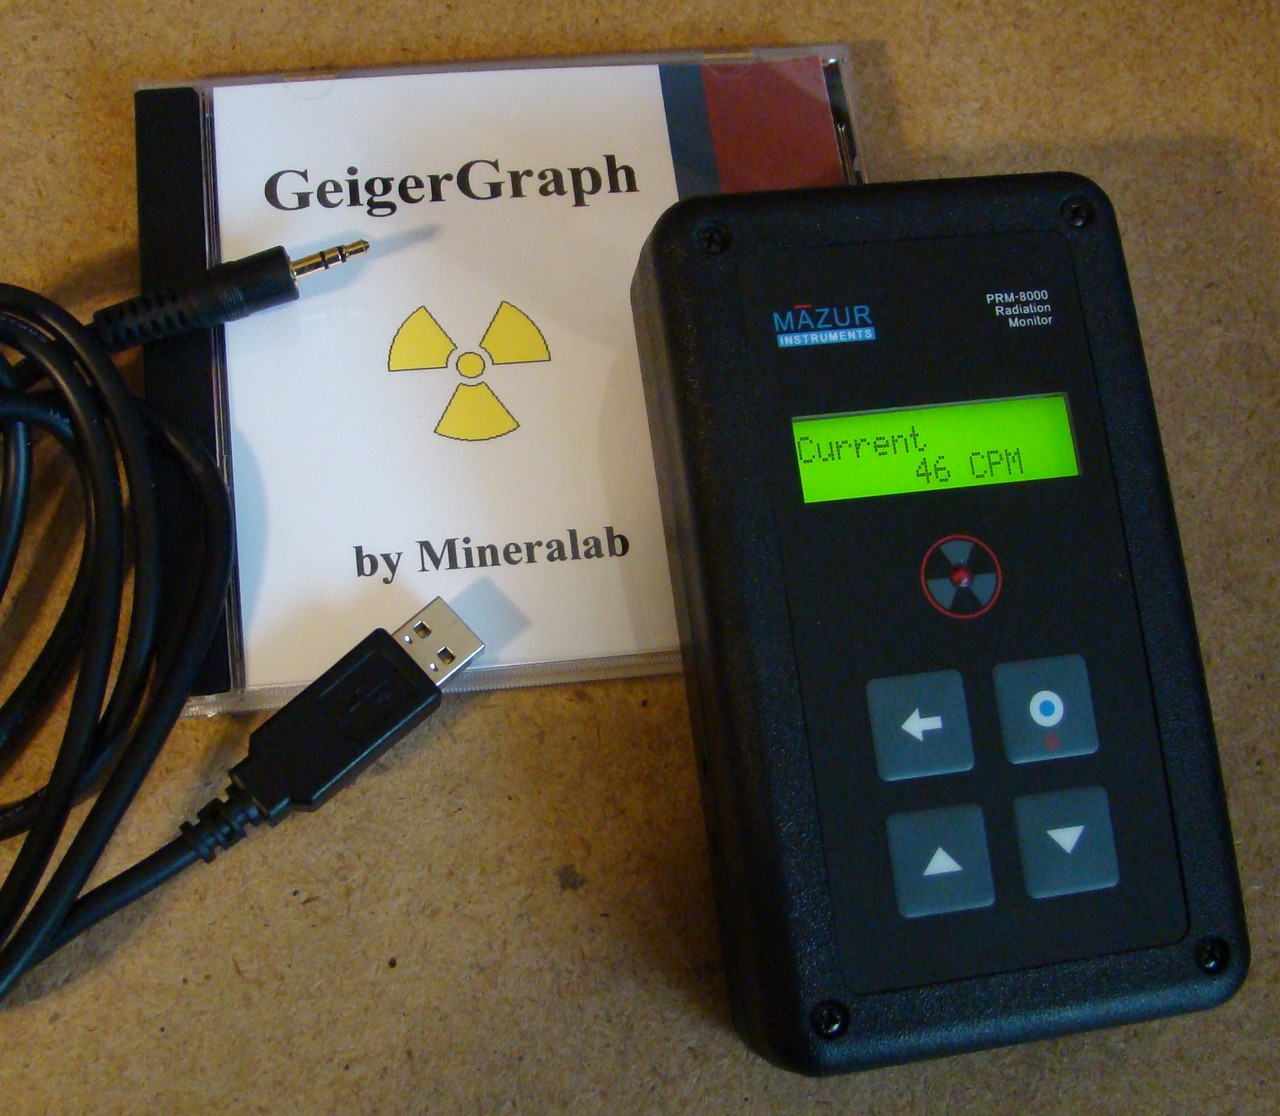
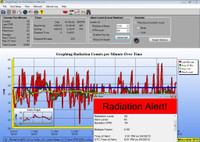
This FTDI brand of Custom USB Data Cable is what we are currently distributing with our GeigerGraph and Radiation Network software. It is compatible with most models of Geiger counters that have a 3.5mm data port emitting pulse output.
(Please note: If you are going to use our GeigerGraph or Radiation Network software with your Geiger Counter, with respect to these models - the SEI brands of Inspector USB, Inspector EXP-USB, and the Digilert - they already come with a compatible USB cable.)
This Custom USB Data Cable requires installation of a driver (software) in order for the computer to recognize it. The brand name of this data cable is FTDI, and here is the driver for Windows systems - just click on the following link:
And for future reference, the manufacturer's website for the data cable is here:
http://www.ftdichip.com/Drivers/VCP.htm
This item typically ships within 1 business day.
_________________________________________________________________________
Installation Procedure for Custom USB Data Cable:
Automatic:
Once GeigerGraph software is open and set up, from the Help menu on the main screen, choose “Install FTDI Driver for Data Cable”, and follow the prompts.
Manual:
1.) From the FTDI driver page listed above, in the right column of the table of “Currently Supported VCP Drivers”, click on the setup executable link. Then save the driver (which is in a setup.exe file format) to your computer, and then follow prompts to install it
2.) To complete installation of the driver, plug the USB end of the Data Cable into a USB port on your computer. After a few seconds, your computer should recognize that New Hardware has been installed, but it may not operate correctly until you manually point to the Driver Software. Therefore ...
3.) Open Device Manager on your computer, navigating there via Control Panel/System, and then Hardware/Device Manager or similar menus. You should see the USB Data Cable installed under "Other Devices" or under “Ports”, indicated as “TTL-232R-3V3-AJ” or "USB Serial Port".
4.) Double click on that device file to open the Properties window, select the Driver tab, and then click on the Update Driver button.
5.) Then choose to "Browse your computer for the Driver Software", and browse to the location on your computer where the downloaded driver was earlier saved/installed – often to your Desktop or your Downloads folder, and select the file and open it, which should complete installation of the Driver software.
COM Port Selection:
1.) Go to Device Manager in Windows and see that the Data Cable was installed as a "USB Serial Port" under the Ports category, and write down the COM Port assignment, for example COM4.
2.) Exit from Device Manager, install GeigerGraph, and when configuring the Geiger Port, allow the program (or select User Setup/Configure Geiger Port) to search available ports, and then select whatever COM Port number that was assigned. OK out of that menu and the program should start detecting radiation counts from your Geiger counter.
-
Product Reviews
-
A simple way to overcome one level of stupid thanks to Windows 10.
After many hours attempting to reconfigure Windows 10 to do what 7 had performed for years, our friends at Mineralabs recommended the "Custom USB Data Cable for Geiger Counter". My Inspector USB, just would not talk. A few simple tweaks following the instructions provided and VIOLA! Data flow to GeigerGraph software reestablished. Thanks, Tim Bill_B on Jan 23rd 2020
-
data cable and geigergraph
Both worked as they should , I had a computer issue and after replacement of system, works GREAT ! Unknown on May 17th 2017
-
usb cable and geigergraph
unable to say much can't get system to work! Unknown on May 15th 2017
-
-
Find Similar Products by Category
